
Last updated September 20, 2026
Full 25-point door and opener safety check with every visit - springs, cables, rollers, tracks, and your LiftMaster or Chamberlain opener included
You get a price before we start. It does not change when the truck arrives.
 Before
 After
After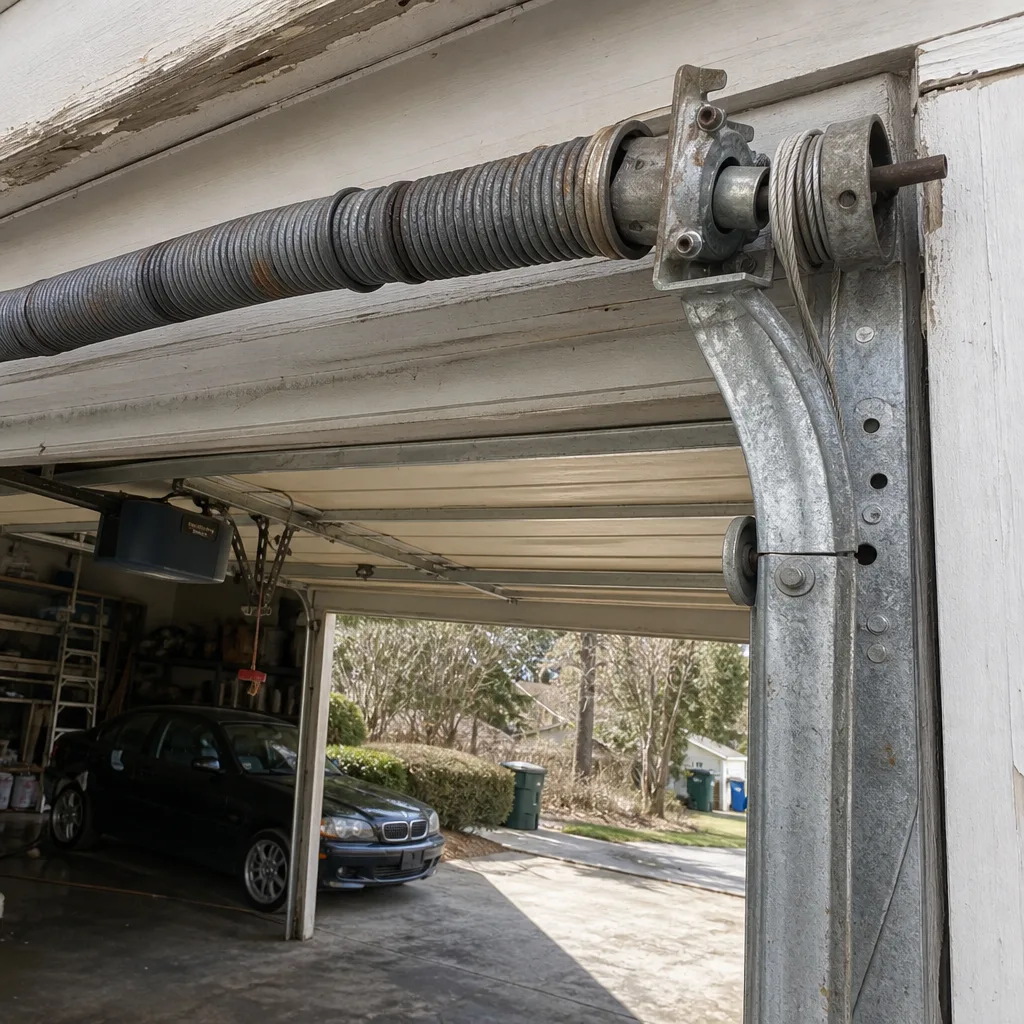 Before
 After
After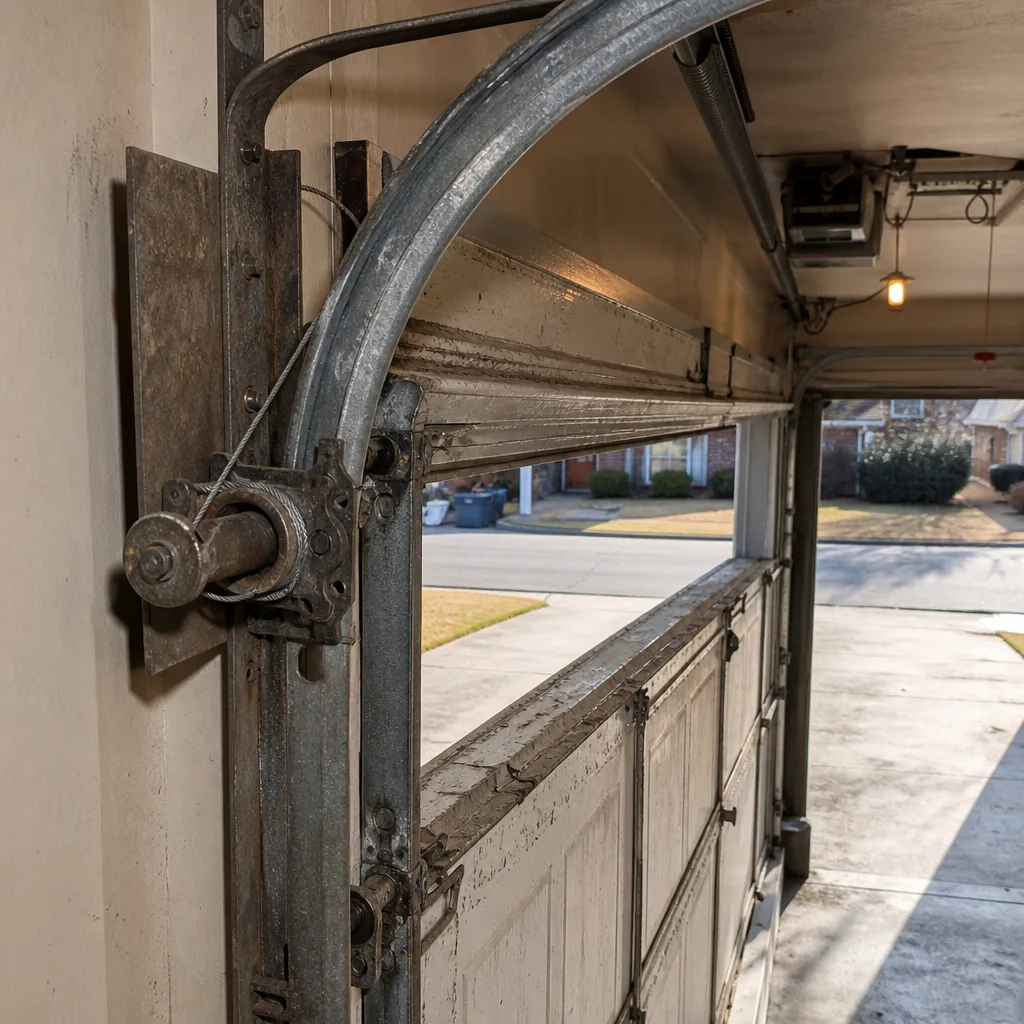 Before
 After
AfterDIY vs Professional Garage Door: The Cumming Homeowner’s Decision Guide
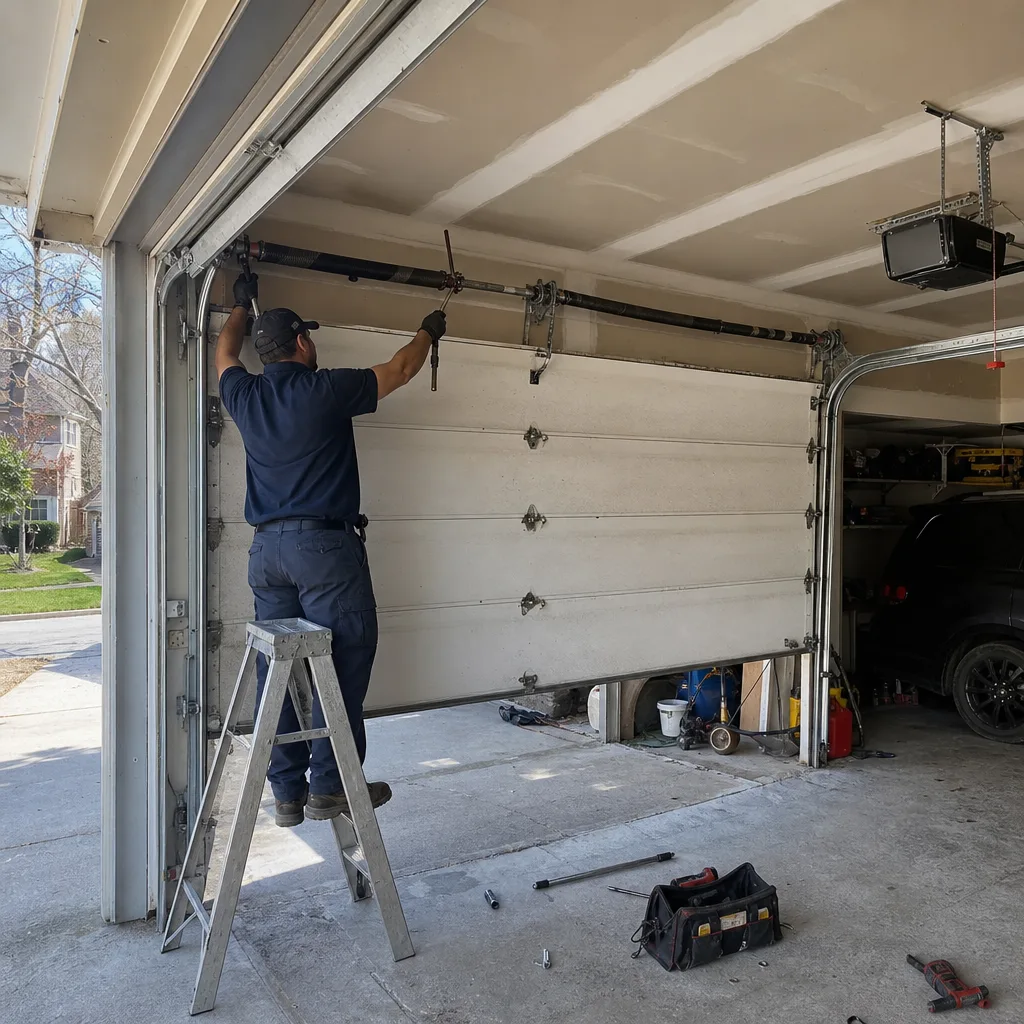
A standard residential torsion spring stores roughly 100 foot-pounds of torque when wound, enough to fracture a wrist or worse if a winding bar slips. That single number explains why the DIY-versus-professional question cannot be answered once for an entire garage door. The answer changes by component. This guide walks through each part of the system, what it costs to do yourself, what it costs to hire, and where the line sits for a homeowner in Cumming who wants the work done right without paying for work they could have done themselves. For Garage Door Cost Breakdown: The Cumming Homeowner’s Reference for 2026, see our dedicated breakdown.
Quick Answer
Most garage door maintenance in Cumming is safe and sensible DIY work: replacing weatherstripping, tightening loose bolts, aligning safety sensors, and replacing opener batteries. Two components should almost always go to a professional: torsion springs and lift cables, both of which store enough mechanical energy to cause serious injury when mishandled. For everything else, the decision comes down to tool inventory, time, and whether the repair is worth documenting properly so it doesn’t become a bigger problem later. Our Garage Door Repair Maintenance Checklist for Cumming Homeowners covers what to document and when.
Table of Contents
- The Component-Level Breakdown: Where the Line Actually Sits
- Tasks You Can Handle With Standard Tools
- The Two Components That Require a Professional
- The Honest Tool Inventory for Legitimate DIY Spring Replacement
- Cost Comparison: DIY vs Professional, Task by Task
- What Goes Wrong in Cumming DIY Garage Door Work
- How to Document a DIY Repair the Way Professionals Do
- Common Mistakes to Avoid
- When to Call a Professional
- Frequently Asked Questions
- The Bottom Line
 Before
 After
AfterThe Component-Level Breakdown: Where the Line Actually Sits
A garage door is not one machine. It’s a system of roughly a dozen discrete components, each with its own failure mode, its own risk profile, and its own repair procedure. The mistake most homeowners make is thinking about “the garage door” as a single thing that either needs work or doesn’t. The better question, the one we ask on every service call in Cumming, is: which part failed, and what does that part store?
Some components store no energy at all. A bottom seal, a hinge, a sensor bracket: these are static parts. They sit there, they wear out, they get replaced. The work is straightforward, the consequence of error is a misaligned door that still opens and closes. Other components store energy constantly or intermittently. Torsion springs store torque even when the door is closed and the opener is unplugged. Lift cables carry the entire weight of the door at all times. Those are the components where a mistake isn’t a do-over, it’s a hospital trip.
This is the framework we use when a Cumming homeowner asks whether they should attempt a repair themselves. Not “do you feel confident,” but “which part are we talking about.” The table below sorts the most common garage door repairs into three categories based on the energy involved and the realistic risk of injury or property damage. Before you begin any work, check Garage Door Permits, Codes & Inspections in GA: What You Need to Know to confirm whether your project requires a permit.
DIY Eligibility by Component
| Component or Task | Energy Stored | Risk Level | DIY Verdict |
|---|---|---|---|
| Bottom seal replacement | None | Low | Safe DIY with basic tools |
| Weatherstripping around frame | None | Low | Safe DIY with basic tools |
| Opener remote battery | None | Low | Safe DIY, 5-minute job |
| Safety sensor alignment | None (low voltage) | Low | Safe DIY with screwdriver |
| Loose hinge or bolt tightening | None | Low | Safe DIY with socket set |
| Roller replacement (non-bottom brackets) | Moderate (track tension) | Moderate | DIY possible with care |
| Opener logic board replacement | Low | Moderate | DIY possible, brand-specific parts |
| Extension spring replacement | High (stretched spring) | High | Professional recommended |
| Lift cable replacement | High (door weight) | High | Professional recommended |
| Torsion spring replacement | Very high (wound torque) | Severe | Professional required |
The pattern here is not subtle. The tasks on the top half of that table share three traits: the part costs under $40, the tools are already in most Cumming garages, and a mistake means redoing the job, not calling an ambulance. The tasks on the bottom half share the opposite traits. A torsion spring assembly for a Clopay door runs $150 to $400 in parts alone, the winding bars are specialized, and the failure mode is sudden and violent.
Tasks You Can Handle With Standard Tools
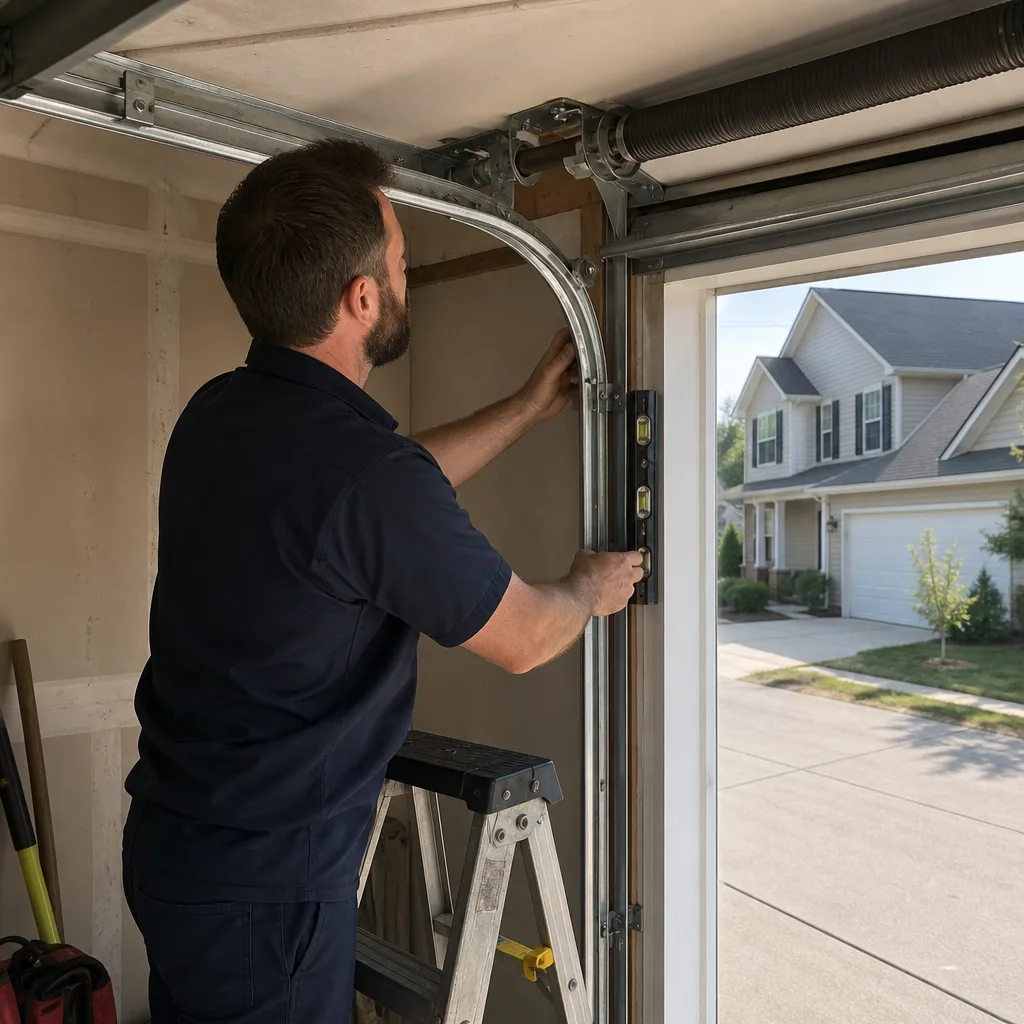
If you live in a Cumming subdivision where every third garage has a rolling tool chest, you can handle the top half of that table without special training. Here is what each job actually involves, so you can self-select accurately rather than optimistically.
Bottom Seal Replacement
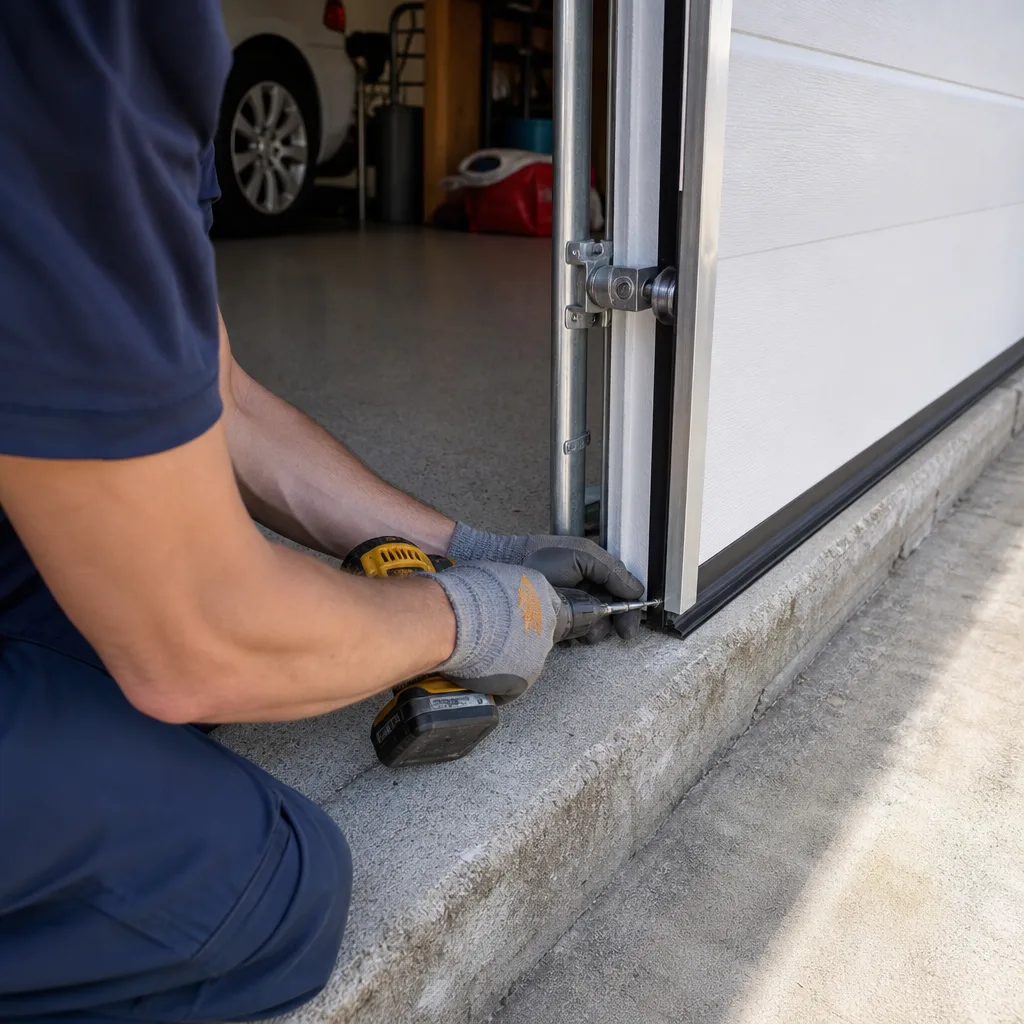
The rubber seal along the bottom of the door hardens over time, especially in Georgia’s summer heat, which bakes garage doors facing west in neighborhoods like Vickery and Windermere. When it cracks, you get leaves, water, and the occasional palmetto bug under the door. Replacement is a pull-out, slide-in job. The seal strips come in 8-foot, 9-foot, and 10-foot lengths at any hardware store for $15 to $35. The only tool you need is a utility knife and something to lubricate the track the seal slides into. Time: 30 minutes. Failure consequence: you buy another strip and try again.
Weatherstripping Around the Frame
The vinyl strip nailed to the door frame deteriorates slower than the bottom seal but eventually cracks and peels. This is another low-stakes job: pull the old strip, cut the new piece to length with tin snips, nail it in with roofing nails, caulk the seam. Cost: $20 to $45 depending on door size. Time: 45 minutes. Every Cumming home with a south-facing garage door will do this at least once in a decade of ownership.
Safety Sensor Alignment
If your opener light flashes and the door won’t close, the problem is usually the infrared safety sensors at the bottom of the track on either side. They communicate in a straight line; if a broom handle knocks one off by a quarter inch, the beam breaks and the door refuses to close as designed. Check that both sensors point at each other, tighten the wing nut, and watch for the solid light that indicates alignment. No parts to buy unless a sensor is actually dead. Time: 15 minutes.
Opener Battery Replacement
The backup battery inside a Genie or Chamberlain opener lasts three to five years before it starts beeping or failing to open during power outages. The replacement is tool-free on most models: open the light cover, unclip the old battery, clip the new one in. A replacement battery runs $25 to $60 depending on brand. If you’re not sure which battery your opener takes, the model number is printed on the motor housing.
Loose Hardware Tightening
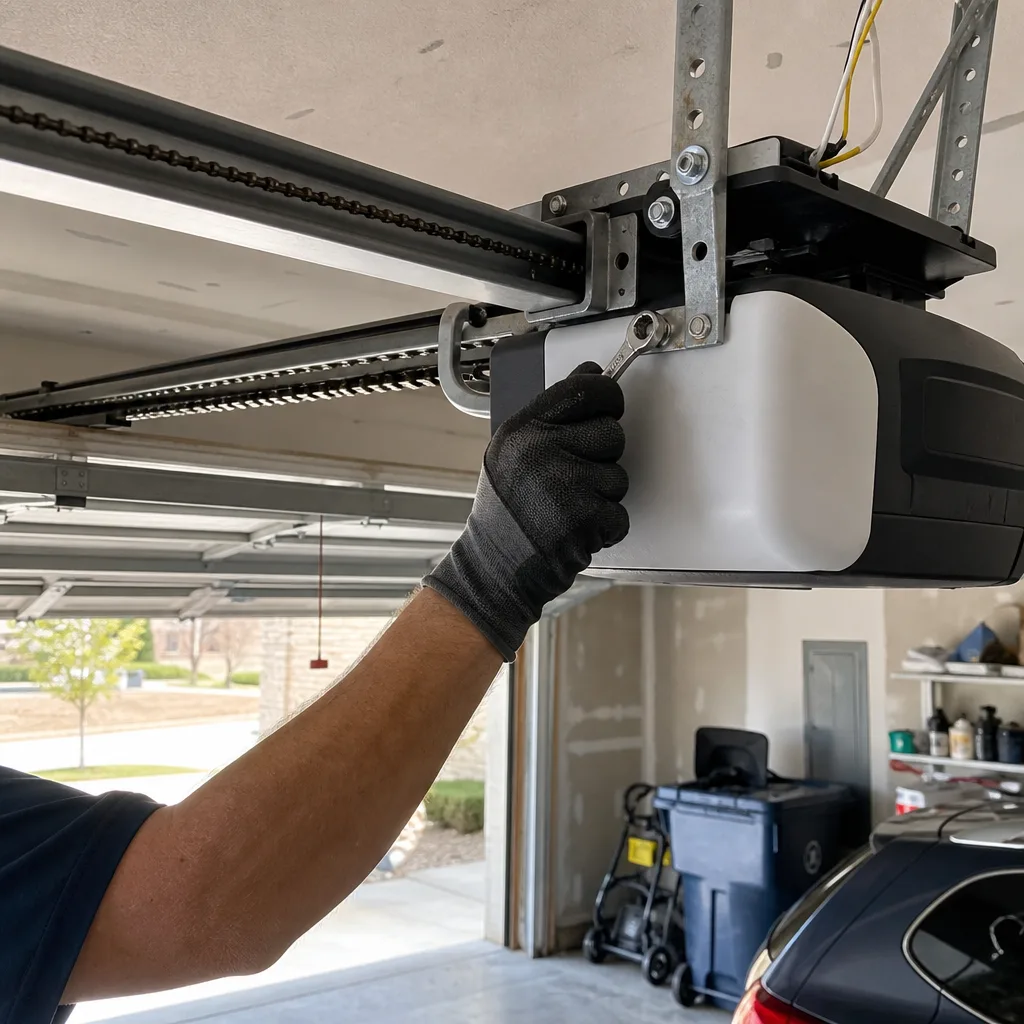
A garage door cycles thousands of times per year, and vibration works bolts loose whether the door is from Amarr, Clopay, or any other manufacturer. Every six months, go around with a socket wrench and snug the bolts on the hinges, the track brackets, and the opener rail. Do not overtighten, especially on the track brackets: the track needs a little play to absorb the door’s movement. This is ten minutes of free maintenance that prevents bigger problems.
For any of these tasks, our Cumming garage door repair page documents what a professional service call looks like if you decide the job is bigger than expected or you’d rather have a written record of the fix.
The Two Components That Require a Professional
There are two components on a garage door that we will not advise a homeowner to touch, and we say this as a company that photographs failed parts and gives written prices because we believe customers should know exactly what they’re paying for. The math on torsion springs and lift cables is not a competence argument. It’s a physics argument.
Torsion Springs
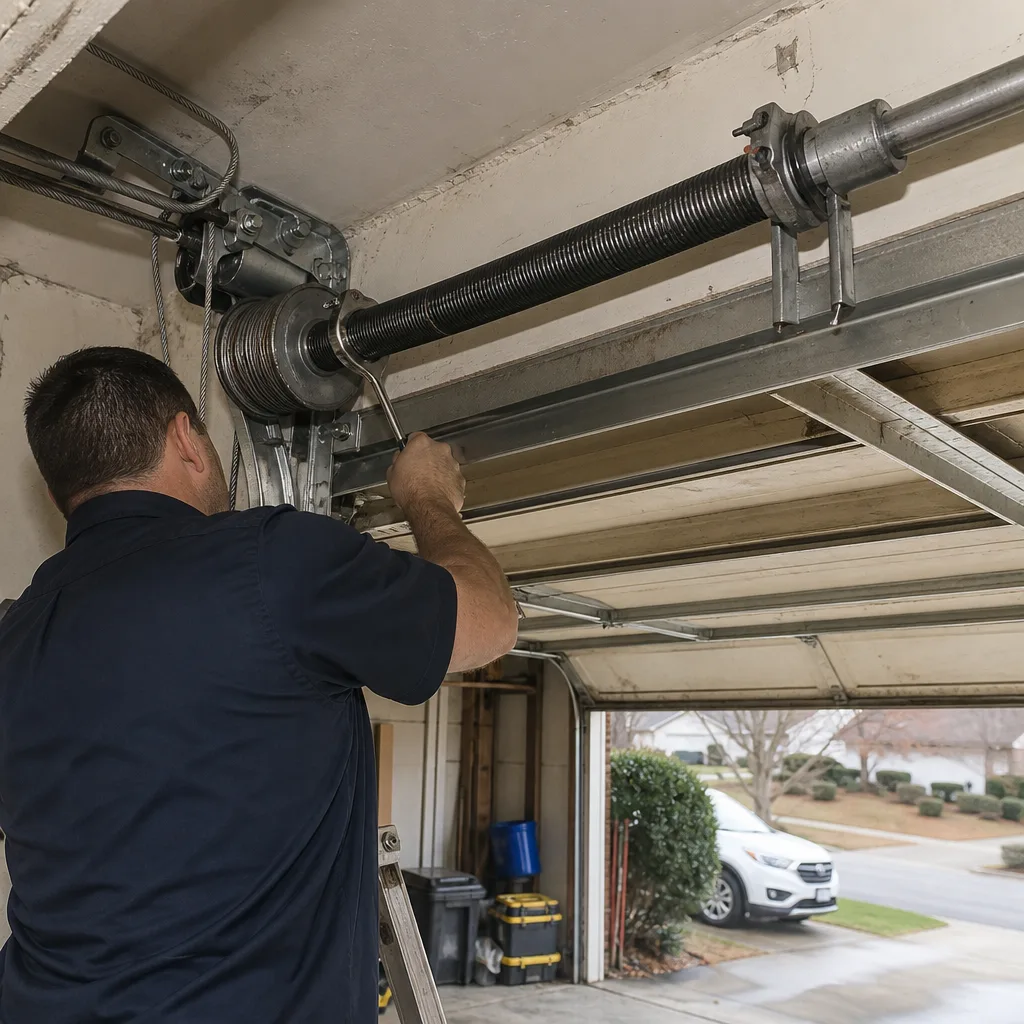
The torsion spring is the coiled spring mounted on a metal shaft above the closed door. It counterbalances the door’s weight, which means it winds and unwinds under load every time the door moves. A typical residential door in Cumming weighs 150 to 250 pounds. The spring stores enough rotational force to lift that weight, and all that force is released at once if the spring breaks or if a winding bar slips during adjustment.
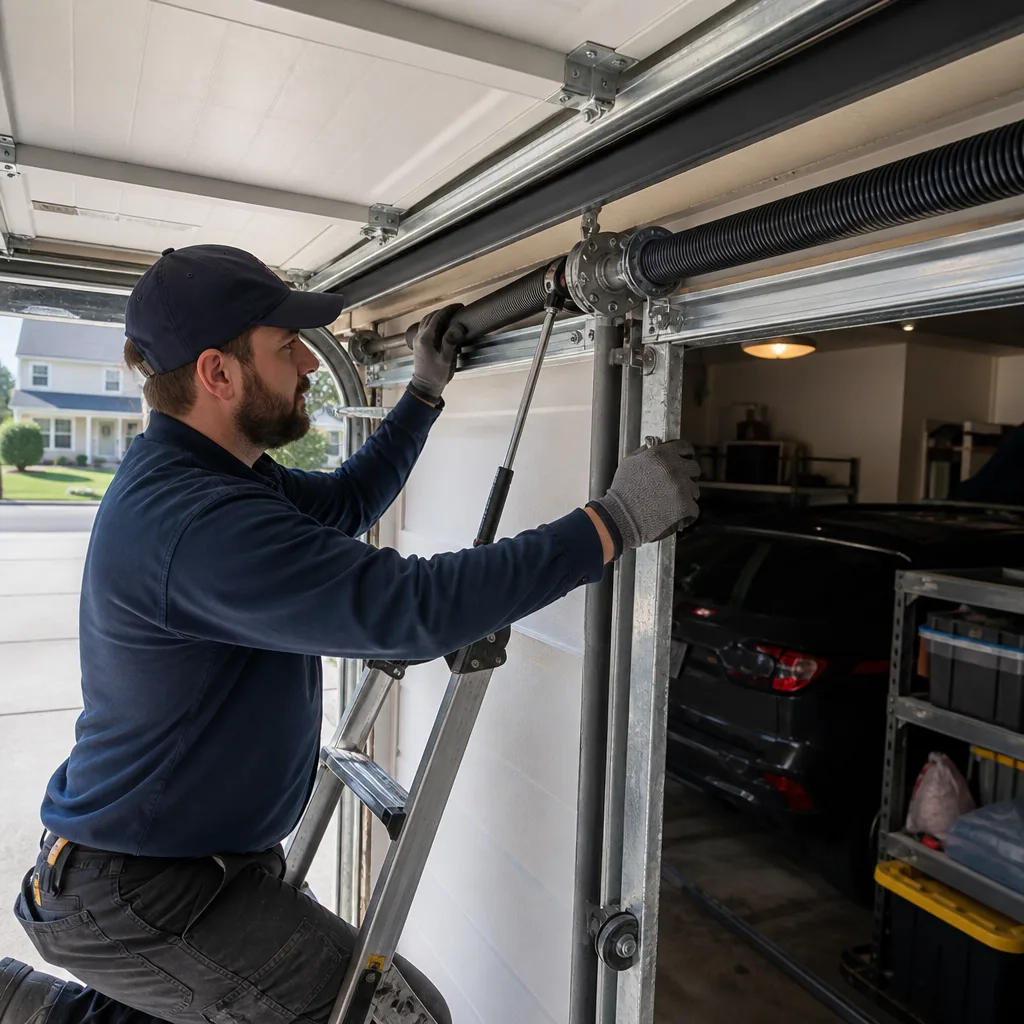
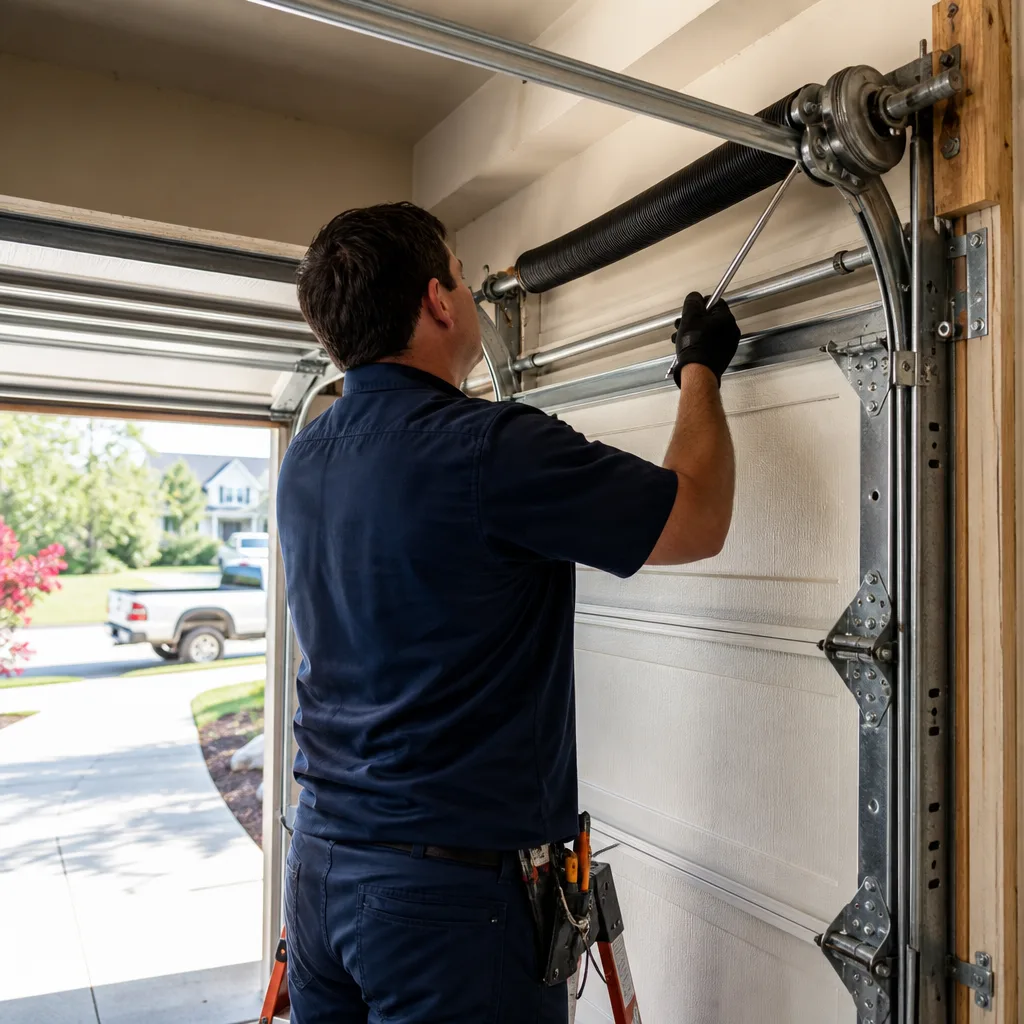
A broken torsion spring happens without warning, usually producing a noise like a rifle shot in the garage. The door then weighs its full 150 to 250 pounds, which the opener is not designed to lift alone. This is not a repair that can be improvised. The correct spring must match the door’s weight, height, track radius, and cable drum size. Install the wrong spring and the door balances poorly or not at all. The winding procedure itself involves two long steel bars inserted into the winding cone, and the tension must be added in precise quarter-turns. If a bar slips, the spring unwinds explosively.
We recommend a professional for torsion spring work, and we state that flatly. Garage door repair in Cumming that involves torsion springs typically runs $180 to $340 including the spring, labor, and balancing check. The spring itself costs $60 to $150 wholesale depending on wire gauge and length, which means the labor and the liability are what you’re paying for.
Lift Cables
The lift cables are the braided steel cables that run from the bottom brackets on each side of the door up to the cable drums on the shaft above. They carry the door’s weight whenever the door moves. When a cable frays or snaps, the door can drop unevenly, which bends tracks, breaks hinges, and can pull the door out of its brackets entirely.
Cable replacement requires releasing the tension on the spring system first, which is the same high-energy operation described above. You cannot replace a lift cable safely without first securing or unwinding the springs. The cables themselves are cheap, $15 to $30 for a pair, but the procedure requires knowing exactly how to lock the door in place, release the spring tension in the correct sequence, thread the new cable through the drum, and re-tension everything evenly. One missed step and the door comes down on your head or your car.
The safe approach on cables is the same as springs: call someone who does this work every day. Our technicians carry the common cable sizes for Chamberlain and Genie doors on the truck, which means most cable repairs in Cumming are finished in a single visit.
The Honest Tool Inventory for Legitimate DIY Spring Replacement
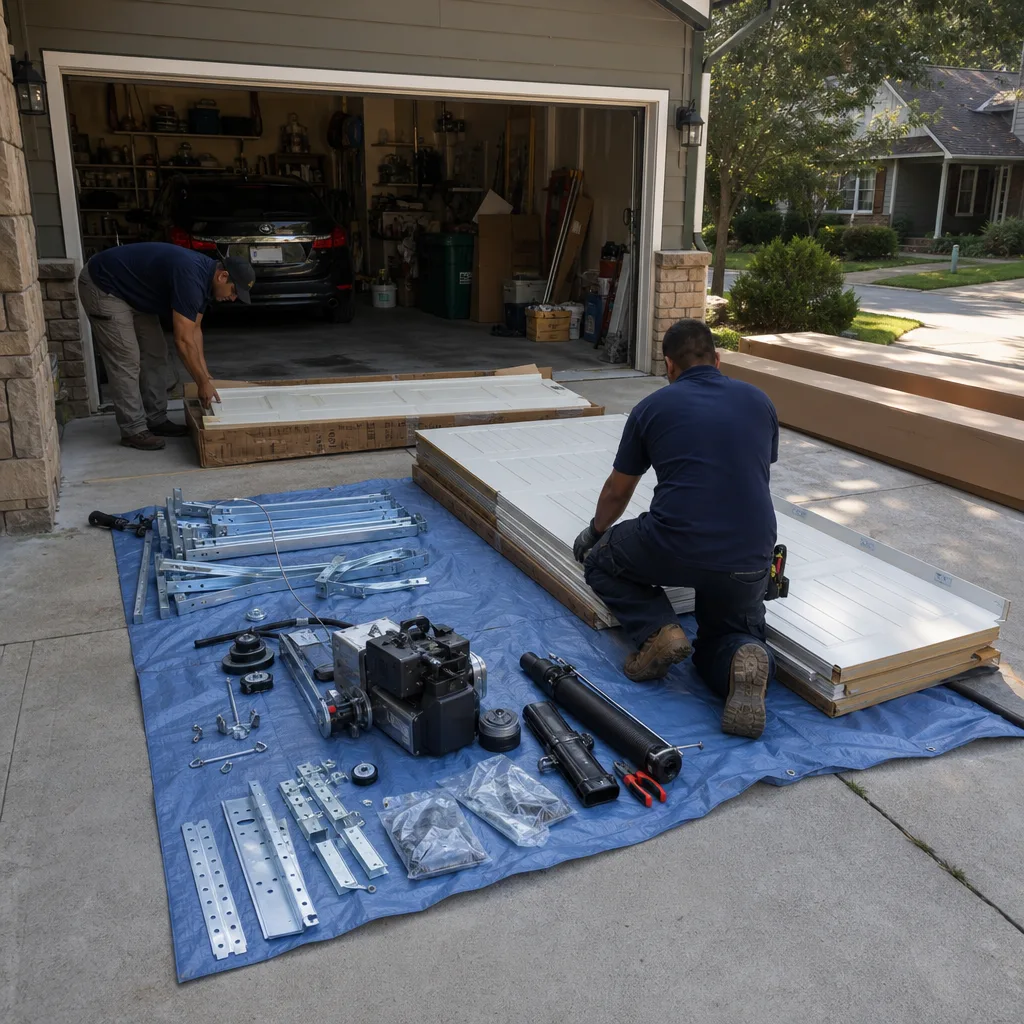
Some homeowners research torsion spring replacement thoroughly, watch instructional videos, and decide they want to attempt it. We are not going to pretend those people do not exist, and we are not going to give them half the information and hope they call us instead. Here is the honest inventory of what a legitimate DIY torsion spring job requires, so anyone considering it can self-select accurately.
- Winding bars. These are two solid steel rods, typically 18 inches long and 1/2 inch in diameter, that insert into the winding cone. They cost $20 to $40 as a pair. Do not use screwdrivers, rebar, or any improvised substitute: a bending bar under 100 foot-pounds of torque becomes a projectile.
- A correctly spec’d replacement spring. The spring must match the door’s weight, inside diameter, wire gauge, and wind direction (left or right). Getting this wrong means the door does not balance, which means the opener burns out early or the door crashes down. You need the door’s exact weight, which means a scale or a detailed manufacturer chart.
- Two C-clamps or locking pliers to secure the door to the track before releasing tension. These are your backup if something shifts.
- A stepladder tall enough that you can work at shoulder height on the shaft. Working overhead with both hands on winding bars is a recipe for losing control.
- Time and patience. A professional replaces a torsion spring in 45 to 90 minutes. A first-time DIY replacement realistically takes 3 to 5 hours when you include measuring, sourcing the correct spring, and the stop-and-start of following instructions carefully.
Here is the honest math. The parts will cost $90 to $180 with the winding bars included. The time investment is half a day, conservatively. The downside if you get it wrong is a broken door, a damaged opener, or an injury that sends you to Northside Hospital Forsyth. A professional spring replacement in Cumming costs $180 to $340 total. The difference is $100 to $160. The question each homeowner has to answer is what that difference buys, and for most people, it buys the avoidance of a genuinely dangerous procedure and a warranty on the work.
If you’ve already started a spring job and something does not feel right, stop. Leave the door clamped in place and call us. We recover partially completed DIY jobs regularly, and the repair is always cheaper when we arrive before the spring has fully unwound and damaged the door.
Cost Comparison: DIY vs Professional, Task by Task
Honest cost comparisons require accounting for tools, time, and the cost of failure. Here is what each common repair actually costs in the Cumming market as of 2025, broken down task by task.
DIY vs Professional: The Numbers
| Task | DIY Parts Cost | DIY Tools You May Need to Buy | DIY Time | Professional Cost in Cumming | Break-Even Point |
|---|---|---|---|---|---|
| Bottom seal replacement | $15-$35 | Utility knife ($5 if you don’t own one) | 30 min | $85-$120 | DIY wins almost always |
| Weatherstripping | $20-$45 | Tin snips ($10), hammer (owned) | 45 min | $100-$140 | DIY wins almost always |
| Safety sensor alignment | $0 | Screwdriver (owned) | 15 min | $75-$100 service call | DIY wins, but call if you try twice and it fails |
| Opener battery | $25-$60 | None | 10 min | $75-$90 service call plus battery | DIY wins |
| Roller replacement (all rollers) | $40-$80 for nylon set | Socket set (owned), possibly a new bottom bracket | 1-2 hours | $130-$180 | Close call; DIY saves $50-$100 if the bottom bracket is fine |
| Opener logic board | $80-$150 | Screwdriver, multi-meter if you’re diagnosing | 1-2 hours | $180-$260 | DIY saves $100 to $120 if you correctly diagnose the board as the failure |
| Torsion spring replacement | $90-$180 with winding bars | Winding bars ($20-$40), C-clamps ($15), scale or charts | 3-5 hours | $180-$340 | Professional wins on risk-adjusted basis |
| Lift cable replacement | $15-$30 | Same as springs, plus the knowledge to release tension safely | 2-4 hours | $130-$200 | Professional wins on safety basis |
What the Table Does Not Show
That table shows the raw numbers. It does not show three things that shift the calculation for many Cumming homeowners.
First, time has value. The four-hour mark on a spring job assumes everything goes correctly the first time. If you have to stop and source a correctly matched spring because the big-box store only stocks a limited range of sizes, add another trip. If you have to order online, add two to three days. If you live in Cumming and work in Alpharetta or Suwanee, a half-day of PTO may cost more than the labor you’re saving.
Second, the professional cost includes a documented record. When we complete a repair in Cumming, the customer receives a photo record showing what was found and what was done, plus a written warranty on the work. A DIY repair has no warranty and no photo record unless you create one yourself, which is more time.
Third, the cost of failure is asymmetrical. A failed bottom seal costs $35 and another 30 minutes. A failed torsion spring replacement can cost a new door panel, a new opener, a vehicle repair, or a medical bill. The expected value calculation changes completely once you factor in the downside scenarios.
For installations, the math is different entirely. Garage door installation in Cumming is measured, ordered, and scheduled. A new door is a custom-width product, not a stock item, and the labor involves setting the track geometry correctly from scratch. Professional installation includes disposal of the old door and the manufacturer warranty registration, which DIY installation often voids.
What Goes Wrong in Cumming DIY Garage Door Work
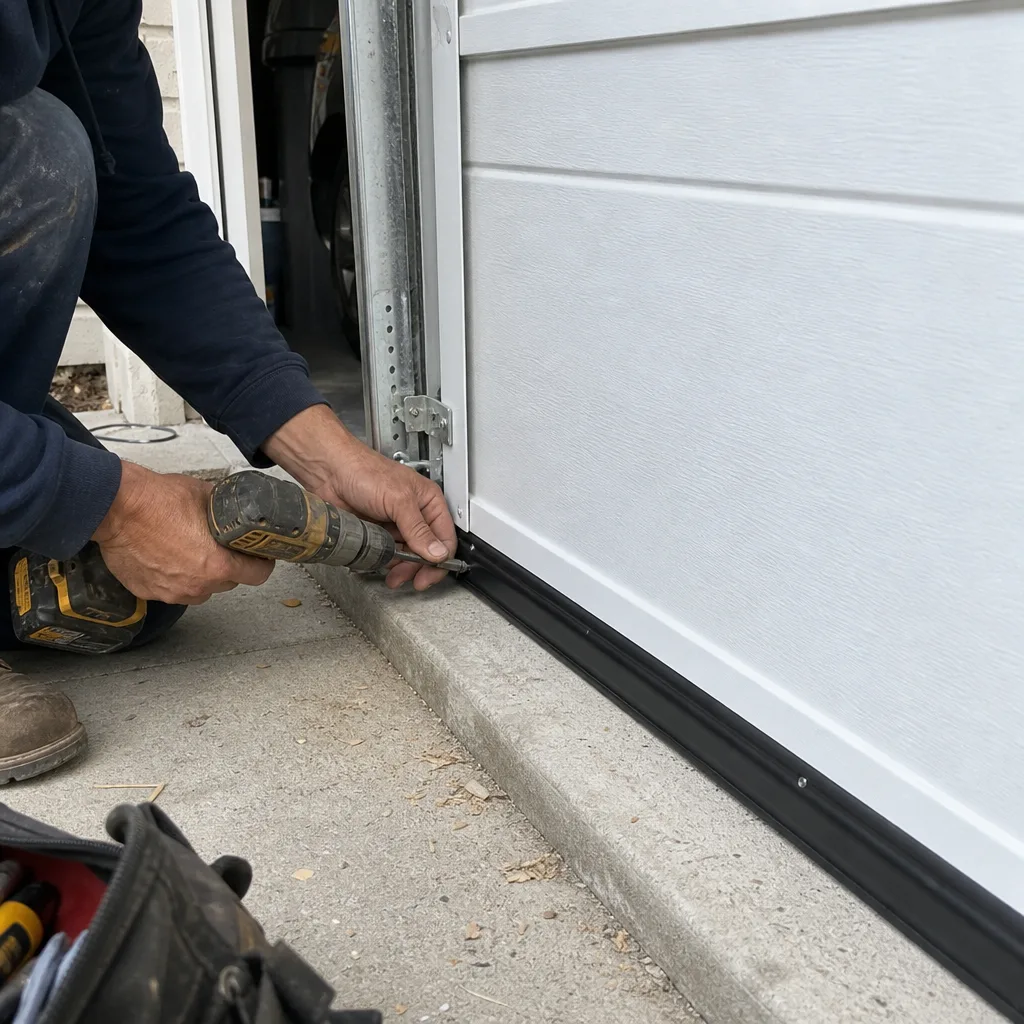
We see the aftermath of DIY attempts regularly. Three failure patterns repeat across Cumming neighborhoods, from the older homes near downtown to the newer subdivisions off Bethelview Road. Here is what goes wrong, and what each mistake costs to correct.
The Wrong Spring Spec
The most common DIY failure is installing a replacement spring that does not match the door’s weight and geometry. The homeowner sees a broken spring, measures the old one’s length and diameter, buys something “close enough” at a hardware store, and installs it. The door then does not balance: it drifts down when released at chest height, or it shoots up when the opener engages. The opener’s motor compensates for the imbalance until it burns out, which adds an opener replacement to the bill.
Cost to correct: $180 to $340 for a properly spec’d spring replacement, plus $250 to $450 if the mis-spec spring destroyed the opener in the weeks or months before the homeowner noticed the imbalance.
Replacing Cables Without Releasing Spring Tension
The second most common failure is attempting a cable replacement on a door with intact springs, without first securing and unwinding the spring system. The homeowner assumes the opener is holding the door and unbolts the bottom bracket. The spring tension then snaps the remaining cable or yanks the door sideways in the track. The result is a door jamming in the track with bent brackets and sometimes a broken panel.
Cost to correct: $200 to $350 for cable replacement and track straightening, plus $150 to $400 if a panel needs replacement. And that assumes the door did not come down on anything expensive.
Greasing the Wrong Surfaces
The third most common mistake is less dangerous but more frequent: over-lubricating with the wrong product. Homeowners spray WD-40 or heavy grease on the track itself, thinking a slicker track means a smoother door. The track does not need lubrication: the rollers ride on bearings, and adding grease to the track creates a gummy paste that collects Georgia’s red clay dust and pine pollen, eventually seizing the rollers. The correct approach is a silicone-based lubricant on the hinges, springs, and rollers only, never on the track.
Cost to correct: $75 to $120 for a cleaning and re-lubrication service call, or a seized roller replacement at $130 to $180 if the contamination has gone too far.
These three failures account for the bulk of what we correct after a DIY attempt. All of them are preventable with accurate information before the work starts, which is why this guide exists in the first place.
How to Document a DIY Repair the Way Professionals Do
The documentation protocol we follow internally comes from a founding rule at Servo: photograph the failed component before quoting a replacement. The customer sees the failed part. There is no “trust us” in the transaction. Homeowners doing DIY work should adopt the same protocol, for the same reason: it creates a record of what was actually wrong, what was actually done, and what the result looked like.
Here is the before-during-after protocol, adapted for homeowner use.
- Photograph the failed component before you touch it. Stand back far enough to show the component in context, then close enough that the wear, break, or misalignment is visible. For a cracked bottom seal, photograph the crack and the gap where water enters. For a frayed cable, photograph the frayed strands and where they are on the drum.
- Photograph the replacement part before installation, including any labels or model numbers. If you bought a Chamberlain battery or an Amarr bottom seal, the label photo documents exactly what went in. If the part fails prematurely, you know what to buy differently.
- Photograph the finished repair. The new seal in place, the sensors aligned with their indicator lights on, the hinges snugged. This is your “done” record.
- Write down the date, the part replaced, the cost, and where you bought it. Three lines in a note on your phone is enough. On a future service call, a technician can read that note and know the history of the door without guesswork.
- Keep the receipt. Some manufacturers honor warranties only with proof of purchase. A photo of the receipt is fine; a physical receipt stored in a plastic bag in the garage is better.
This protocol takes four extra minutes per repair. It turns a series of independent DIY fixes into a maintenance log, which is exactly what a professional would produce for you. If you ever sell the home, a documented garage door maintenance history is a small but real selling point for a Cumming buyer who has seen how quickly garage doors deteriorate in this climate.
We follow the same protocol on every professional visit, and it is codified in the system we work under. Clause 1 of The Haven Standard requires a flat, written price and written scope before any work begins. Clause 4 requires the technician to photograph the failed part before quoting a replacement. The customer leaves every visit with a documented photo record of what was found and what was done, not a verbal summary. If you hire us, you receive that record. If you DIY, the protocol above is how you create one for yourself.
Common Mistakes to Avoid
- Using a screwdriver as a winding bar. Screwdrivers bend under torsion load and become unpredictable. Two proper steel winding bars cost less than $40. A bent screwdriver flying across the garage costs dramatically more.
- Lubricating the track. The track is not a bearing surface. Grease on the track attracts Cumming’s fine red clay dust and pine pollen, which mixes into an abrasive paste that destroys rollers. Lubricate the rollers, hinges, and springs with silicone spray only.
- Ignoring a frayed cable. Cables do not fray for fun. A frayed cable is a countdown to a snapped cable, and a snapped cable means an unevenly loaded door that can jump the track. Address fraying when you first see it.
- Disconnecting the opener before securing the door. If you pull the emergency release while the door is up, the door will come down if the springs are weak or broken. Always verify the door balances before pulling the release, and never stand under it when you do.
- Skipping the balance test after any spring or cable work. After any repair involving tension, disconnect the opener, lift the door to chest height, and release it. A properly balanced door stays put or drifts very slowly. A door that drops or rises has a wrong spec, and running the opener on an unbalanced door destroys it.
- Buying parts before knowing the model number. Garage door openers are not universal. A Chamberlain logic board does not fit a Genie motor, and an Amarr bottom seal channel is not the same profile as a Clopay. The model number is on the motor housing or the door’s edge; write it down before you buy.
When to Call a Professional
Call a professional when the component stores energy: torsion springs, extension springs, and lift cables. Call when the door does not balance after you’ve attempted a repair, because running the opener on an unbalanced door accelerates its failure. Call when the repair requires the door to be removed from its track or the track to be removed from the wall, which is structural work that affects how 150 to 250 pounds of moving steel behaves. Call when you’ve started a job and realized you do not have the right tool, the right part, or the confidence to finish it safely. Leaving a door clamped half-repaired is far safer than finishing a job wrong.
Servo Garage Doors Cumming offers free estimates in Cumming. Call (470) 758-8863 and a real person answers, day or night. Every job gets a flat, written price before any work starts, and a documented photo record when the technician leaves. Browse more guides & resources for additional homeowner guidance.
Frequently Asked Questions
Professional torsion spring replacement in Cumming typically costs $180 to $340, including the spring, labor, and a balance check on the finished door. The price varies by spring wire gauge, door weight, and whether both springs need replacement, which is often the case when one has broken. Call (470) 758-8863 for a written quote before any work starts.
You can physically do it, but the risk-adjusted calculation makes it a poor DIY choice for most homeowners. The winding bars, clamps, and correctly spec’d spring cost $90 to $180, and the procedure leaves no room for error. A mistake can injure you, damage the door, or destroy the opener, all of which cost more than the $100 to $160 you save by skipping professional labor.
The most common DIY mistake we correct in Cumming is installing a replacement torsion spring with the wrong weight specification, which leaves the door unbalanced and burns out the opener over time. The correction costs $180 to $340 for the spring plus $250 to $450 if the opener needs replacement.
A standard torsion spring lasts 7 to 10 years or roughly 10,000 cycles in Cumming’s climate. Springs wear faster on doors that open and close multiple times per day, and the humidity and temperature swings common to Forsyth County do not help. A broken spring sounds like a gunshot and the door will not lift afterward.
For a like-for-like panel or component replacement, no permit is required in Cumming. For a structural modification or a full replacement that changes the opening size, Forsyth County may require a permit, and your HOA in communities like Windermere or Vickery may have its own architectural review process. Check with your HOA before installing a new door.
No. Openers are matched to the door’s weight, height, and balance. A Chamberlain opener trimmed for a lightweight door will fail prematurely on a heavy Amarr or Clopay door. The opener’s logic board also needs to match the safety sensor protocol, which varies by brand. If you are replacing an opener, garage door opener repair and installation in Cumming is one service call that includes compatibility verification before the opener goes in.
The Bottom Line
The DIY-versus-professional decision on a garage door is a component-by-component decision, not a personality test. If the part stores no mechanical energy, and you own the basic tools, doing it yourself is sensible and the savings are real. If the part stores tension, torque, or the weight of the door itself, the professional math wins: the labor cost is the price of not getting hurt and not breaking something expensive. Every homeowner in Cumming should know their own skill ceiling, but more importantly, they should know which component they are actually working on before they pick up a wrench. And if the job goes sideways, (470) 758-8863 is a live person away, with a written price before any work starts and a photo record when it is done.
Written by Marcus Deller, Owner at Servo Garage Doors Cumming, serving Cumming since 2015.